Overview
Paths are a type of insight that enable you to inspect how users journey through your product.
Generally, paths are a tool that's used for exploration, and aren't as much focused on raw data as some of our other insights. The goal of paths is to allow you to follow users along their journey through your product, and figure out places where improvements can be made.
What can you learn from paths?
- Understand where traffic is landing into your application or website
- Understand where traffic is quitting your application
- Understand which parts of your application people are actually using
- Identifying points where users are getting confused or are unable to find what they are looking for
- Find out why users aren't discovering new features
Getting started
Creating a paths insight
- Click Product Analytics on the left sidebar
- Click the + New Insights tab
- Select the User Paths tab


You've now created your first paths insight!
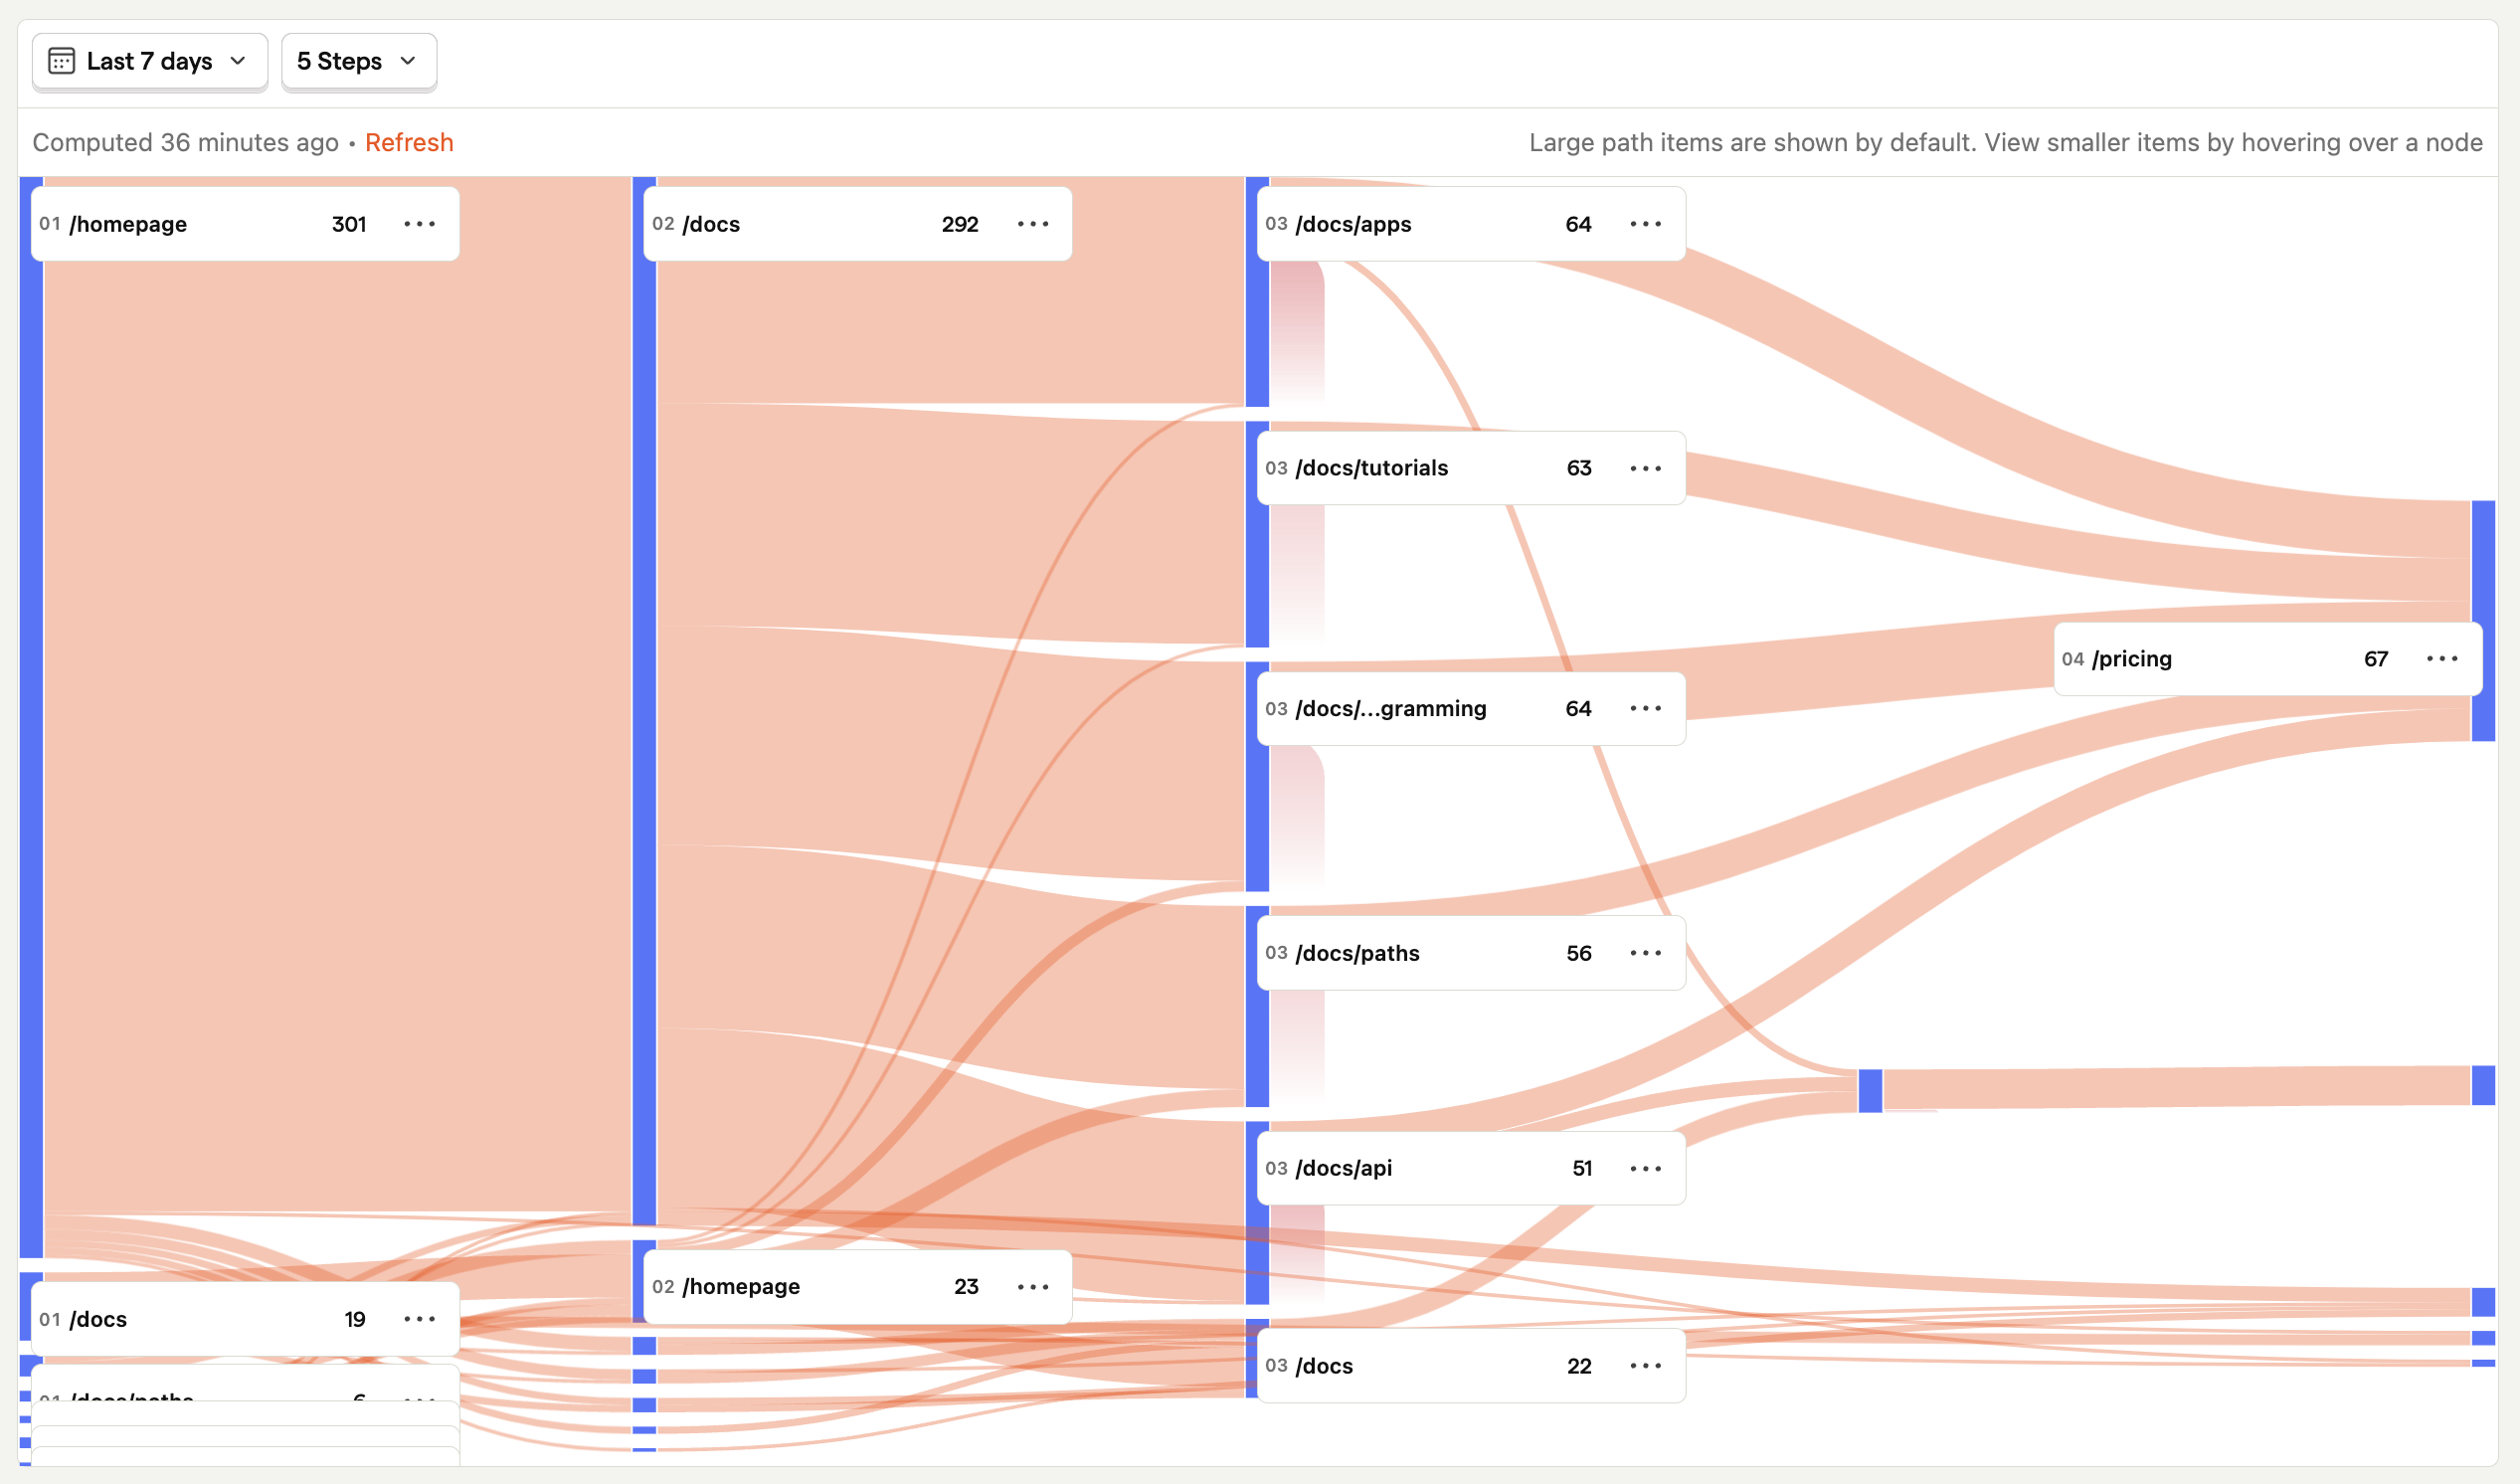
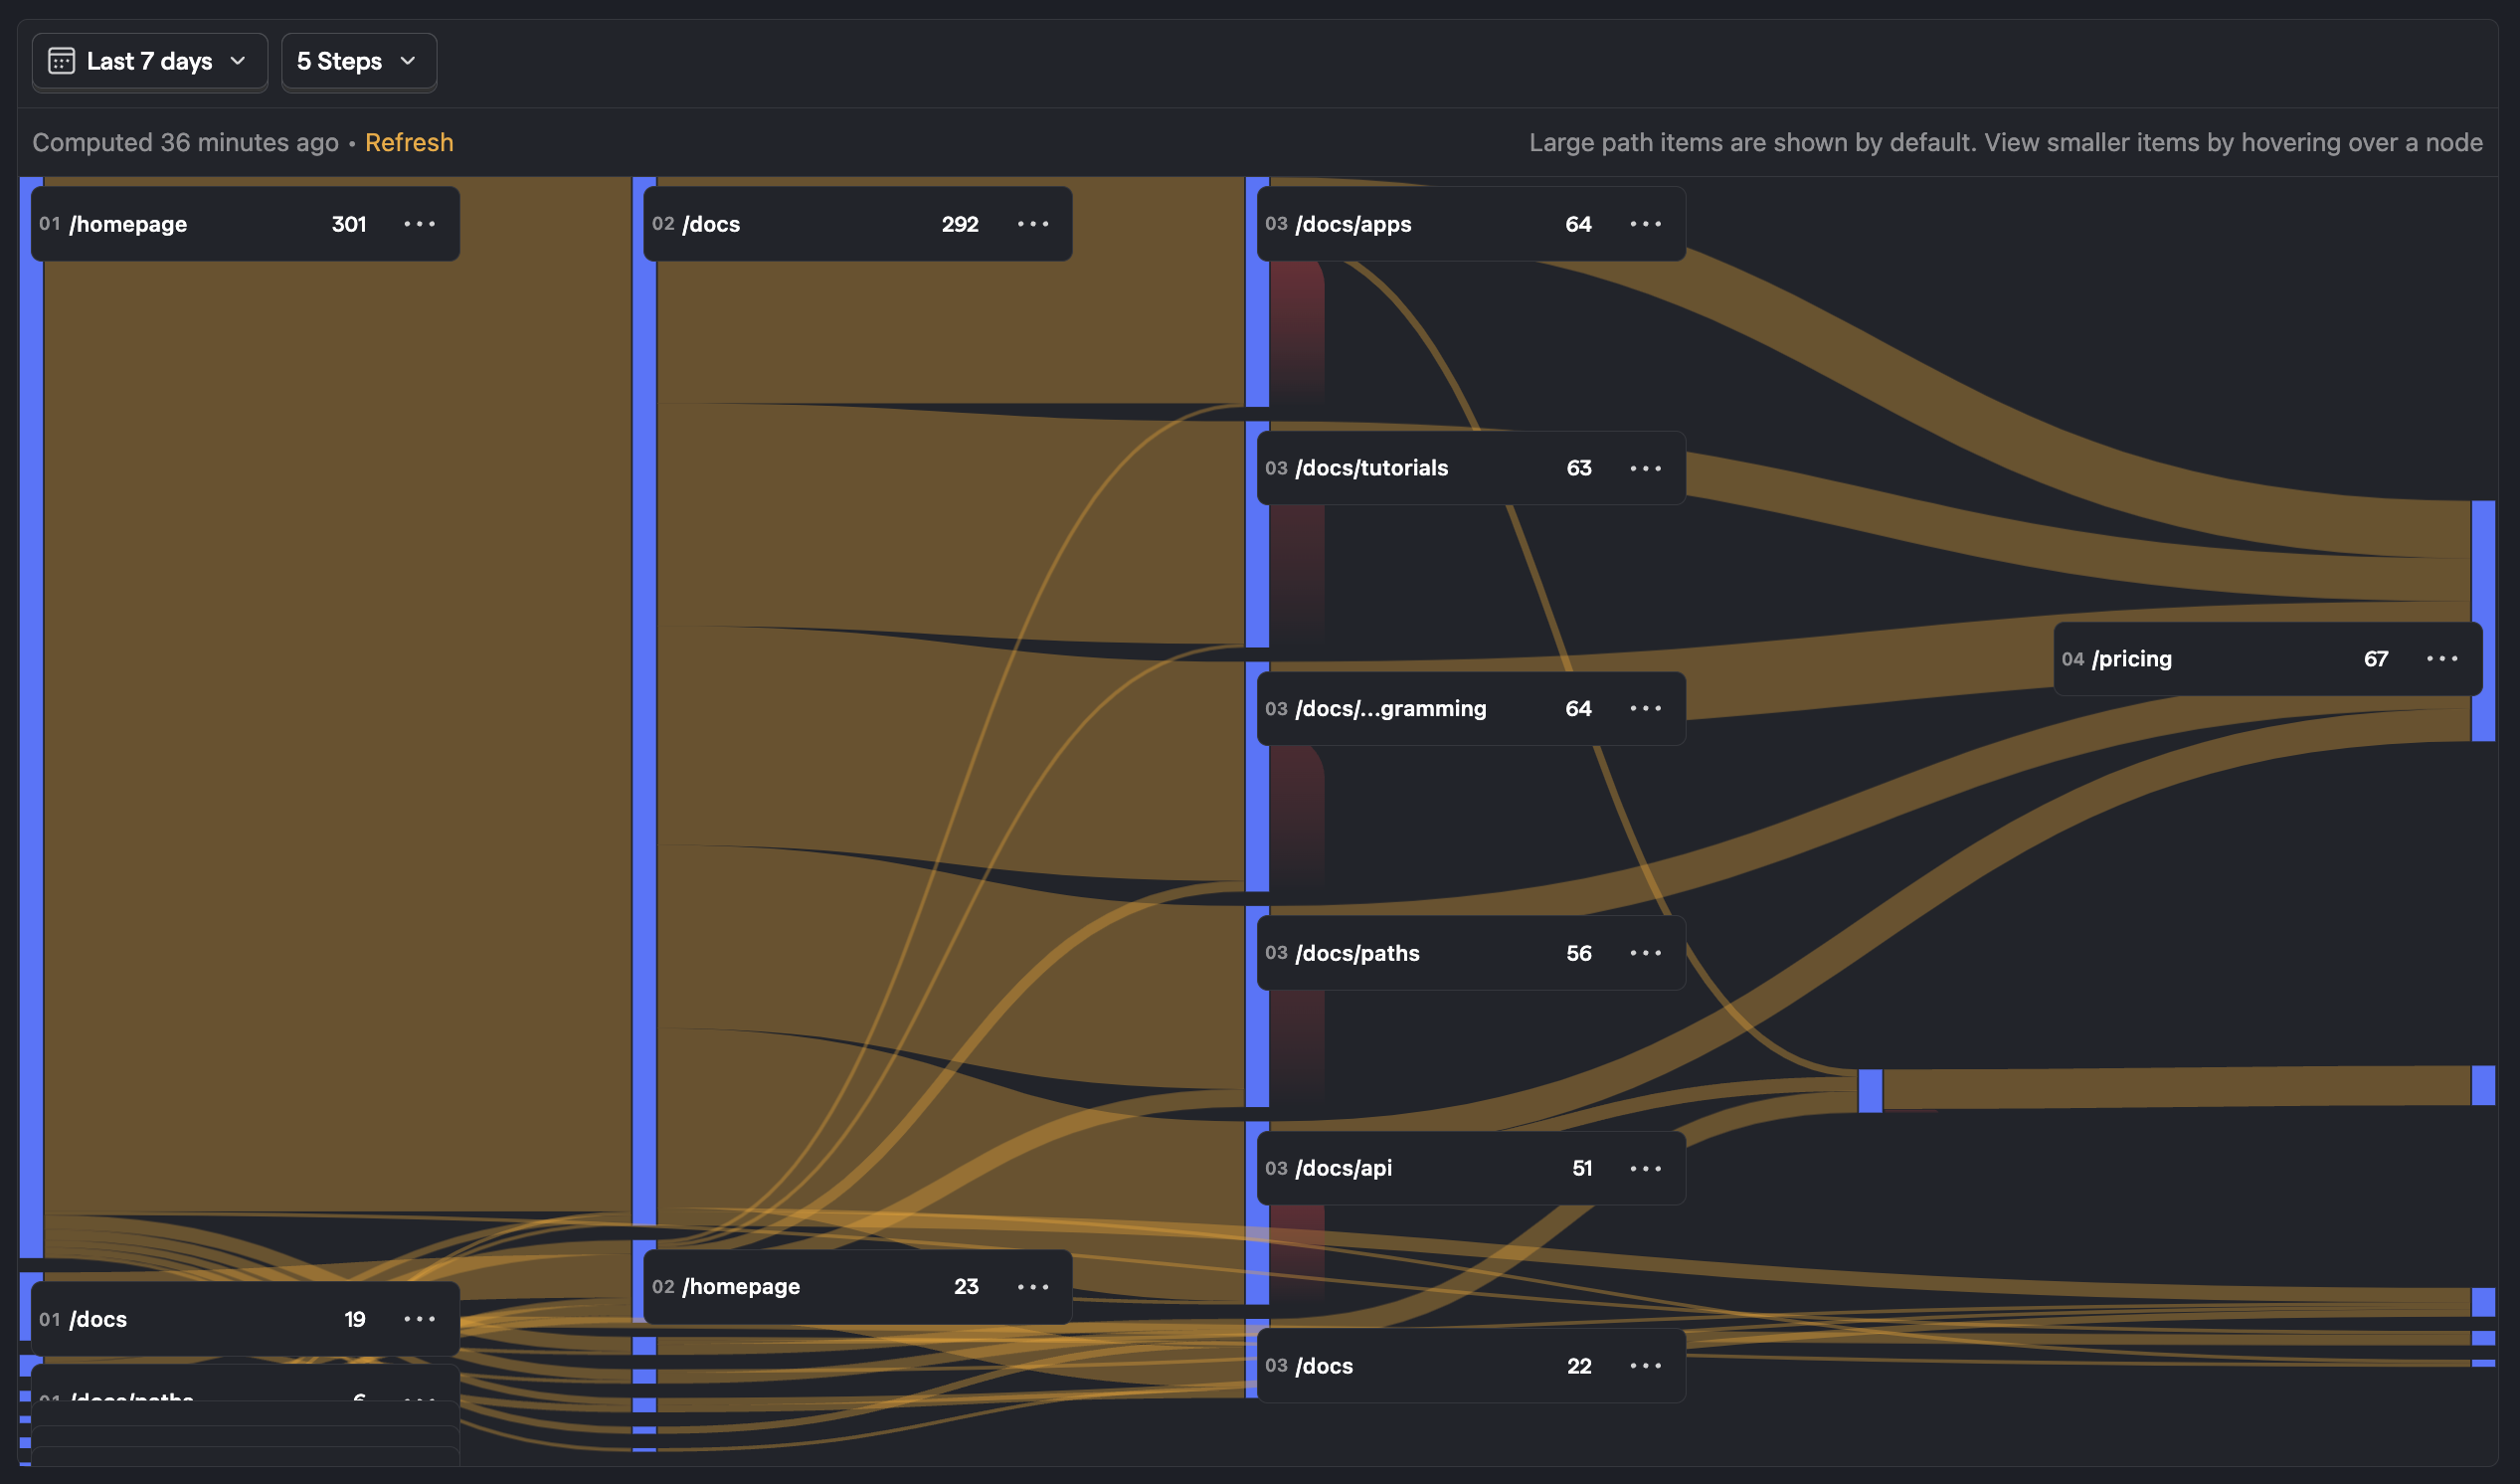
Depending on the amount of data you've ingesting into PostHog, the graph you see may be quite complex, so we'd highly recommend continuing to the next section to get a better idea of how to understand and customize your paths visualization.
Understanding paths
Paths are one of PostHog's most powerful tools for exploring how users journey through your app. However, they can be somewhat overwhelming when first getting started with them, simply due to the complexity and density of the visualization. This section provides a bit of background to help understand what paths are at a basic level, and how you can use them to discover things about your user journey.
There are a couple of terms that will be handy to define beforehand:
- Step - This is a single point along a user's journey, and corresponds with the events that were sent during a user's session. For example, each page a user viewed or event they send will be a separate step.
- Path - This is the basic unit of the paths insight, and corresponds to a user moving from one step to another
A step can be any Event or Action (such as pageviews, button clicks, or a combination of both).
Looking at a simple path
Now that we know the basic concepts in a path, let's take a look at some simple examples. The basic concept of a path is most easily seen by setting the number of steps above the visualization to only 2. For simplicity, we'll also only be thinking about paths of Page views, but the thought process for custom events is exactly the same.
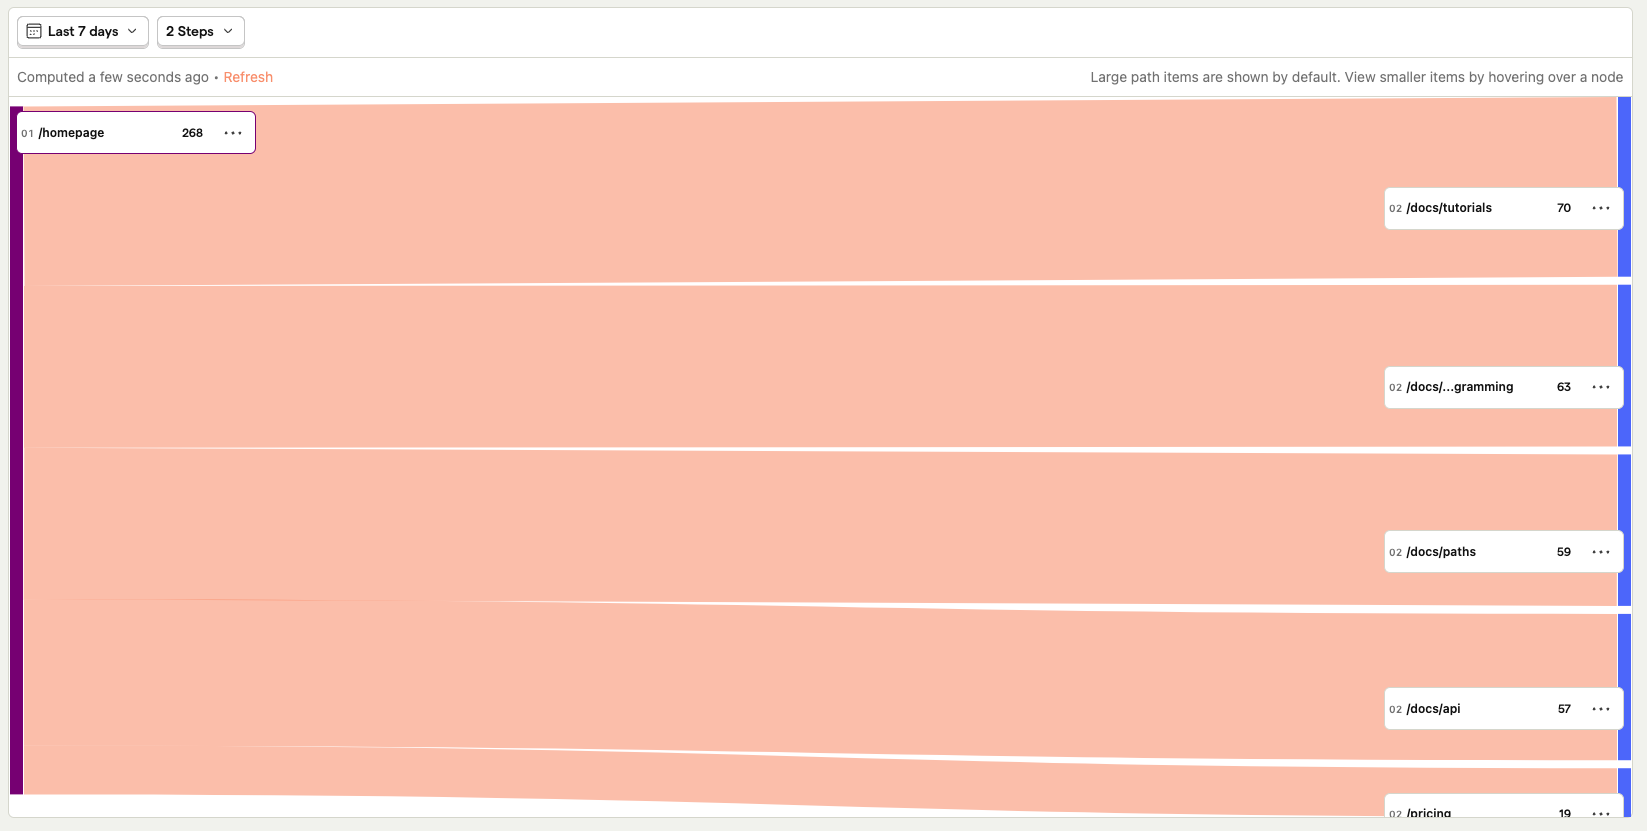
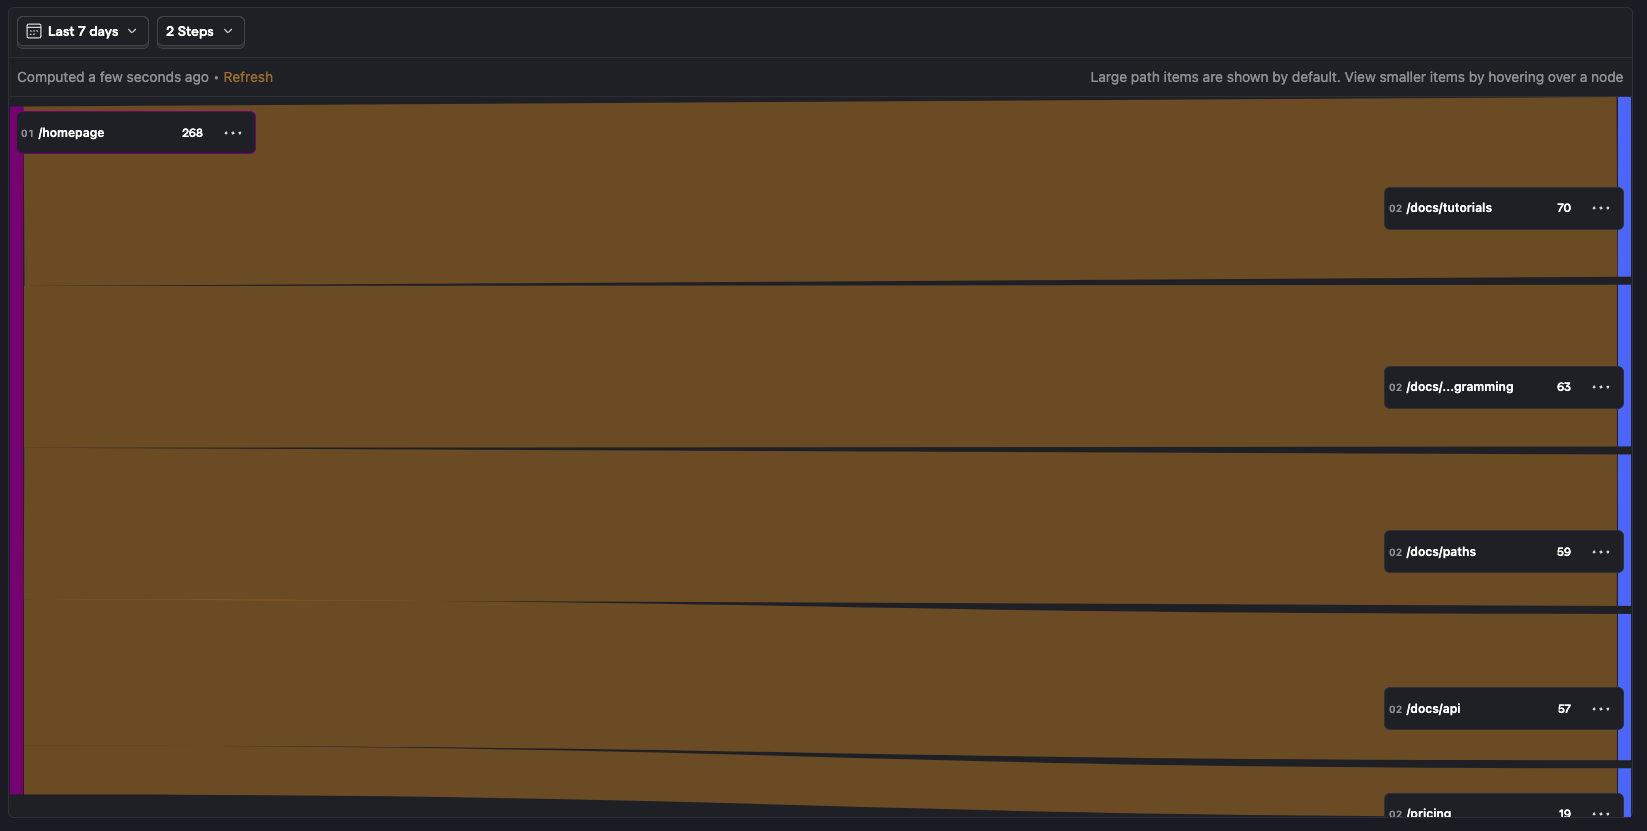
Here, I've set the start point to be the "/docs" and I've limited the number of paths to only 5.
With this visualization, you can see that the core idea of paths is very simple: Each step along the path is a page that the user viewed, and the horizontal bars correspond to a user navigating from one page to another.
The numbers next to the paths correspond to how many distinct users passed through this specific step along the way. So out of the 745 people who viewed the home page over this period, 510 of them continued on to /pricing and so on.
Adding a 3rd step
Now that we have an idea of how the 2-step path works, let's add a 3rd step so we can learn about drop off. As a disclaimer, I've filtered out a bunch of other user paths here to make things easier to understand.
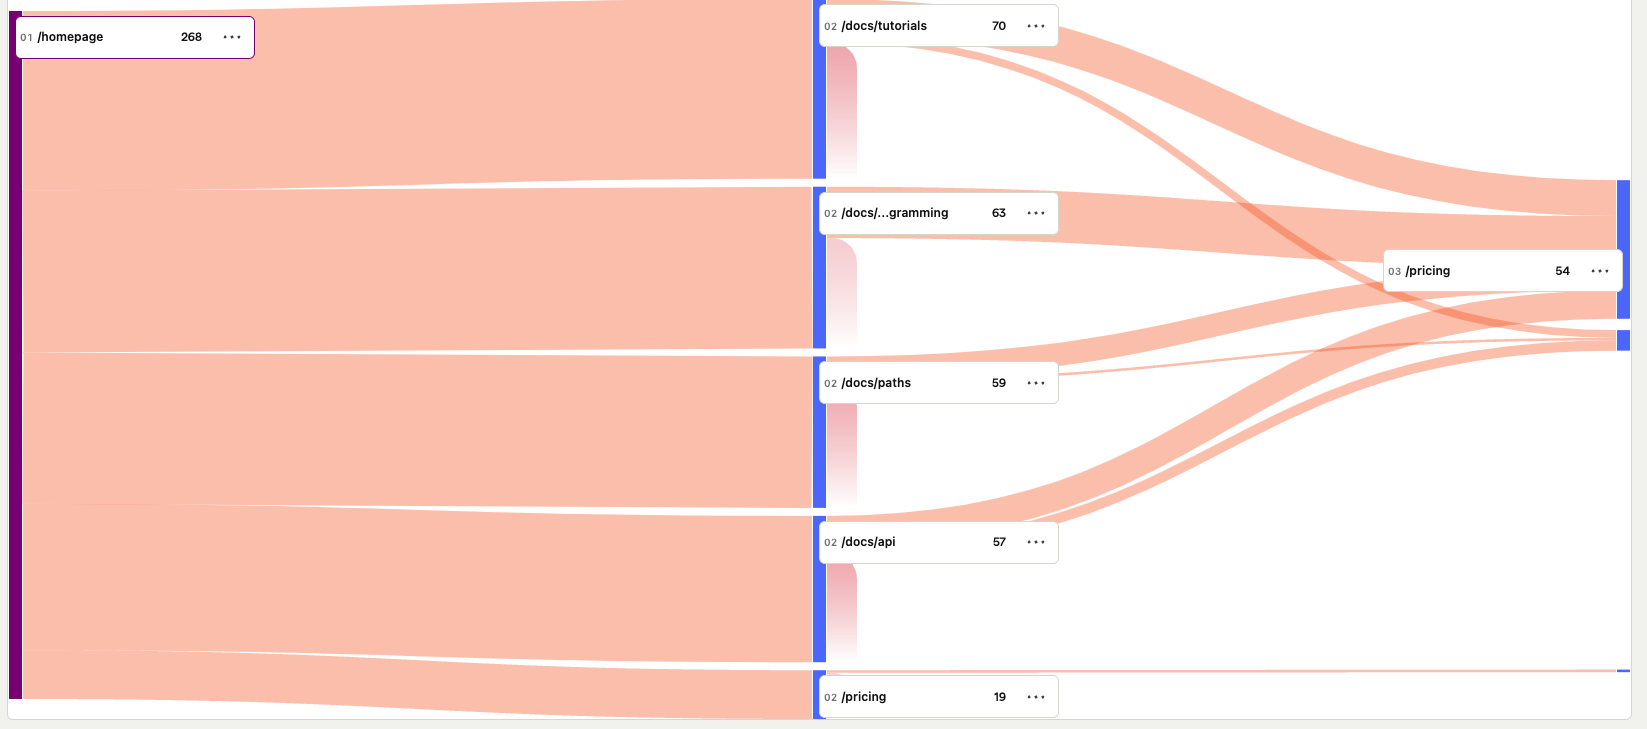
As you can see, we now have 3 steps in our journey, starting with a user viewing the /pricing page, and then continuing on to whatever page that user viewed next, with the 3rd step being wherever the user ended up.
In this case, some users navigated directly to the /docs or docs/api or /docs/paths page, and as a result there is no intermediate step displayed.
However for other users, such as those who first navigated to the homepage page, we can see a 3rd step now, corresponding to wherever they navigated after viewing homepage.
Note: If a user visits
homepage, then refreshes the page, i.e. they visithomepageagain, we count this as the same step. In other words, no two consecutive steps ever have the same event/URL.
There are 6 users who visited homepage as the second step, and of which 3 users contintued to the /docs/ page. The red portion of our flow at the second step, which corresponds to the number of users (3) who did not navigate anywhere else after viewing this page, are considered to have dropped off at this step.
Exploring a specific step within a path
Now that we've identified where users are dropping off, let's dig in deeper on this specific step. First, we'll hover over the name of the step to some more metrics.
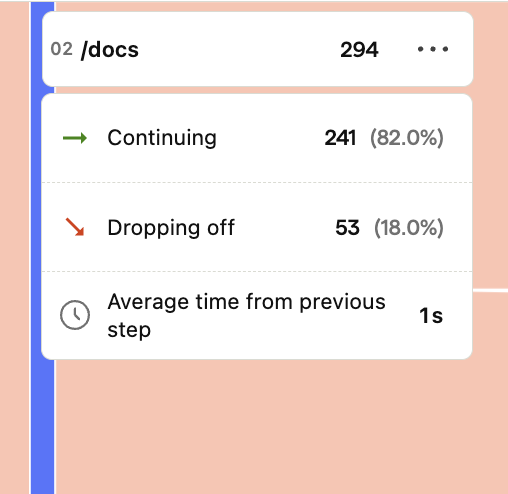
This will give us the exact conversion rate of this step, as well as the average time it took users to get here from the previous step. In addition to this information, we can also click on the ••• icon to bring up a menu with a number of useful actions for this step.
- Set as path start - This will set this step as the starting point for your path. Useful for exploring where your users navigate to after viewing a specific page or performing a specific action
- Set as path end - This will set this step as the ending point for your path. This is useful when analyzing the ways in which a user ends up at a specific point or finding out why users dropped off
- Exclude path item - This will add an exclusion rule for this specific event
- View funnel - This will open up a new funnel insight with this event already set as the first step. This is very useful when analyzing drop-off of a specific step.
- Copy path item name - Copies the event name to your clipboard
Viewing recordings and creating cohorts from a step
Where is this feature available?
Free / Open-source
Paid
Enterprise
One of the most powerful features of the Paths insight is the ability to see all the users who passed through a specific step. To do this, we simply click on the number next to the name of step which shows how many users arrived at this point, which will bring up a list of all of these users.
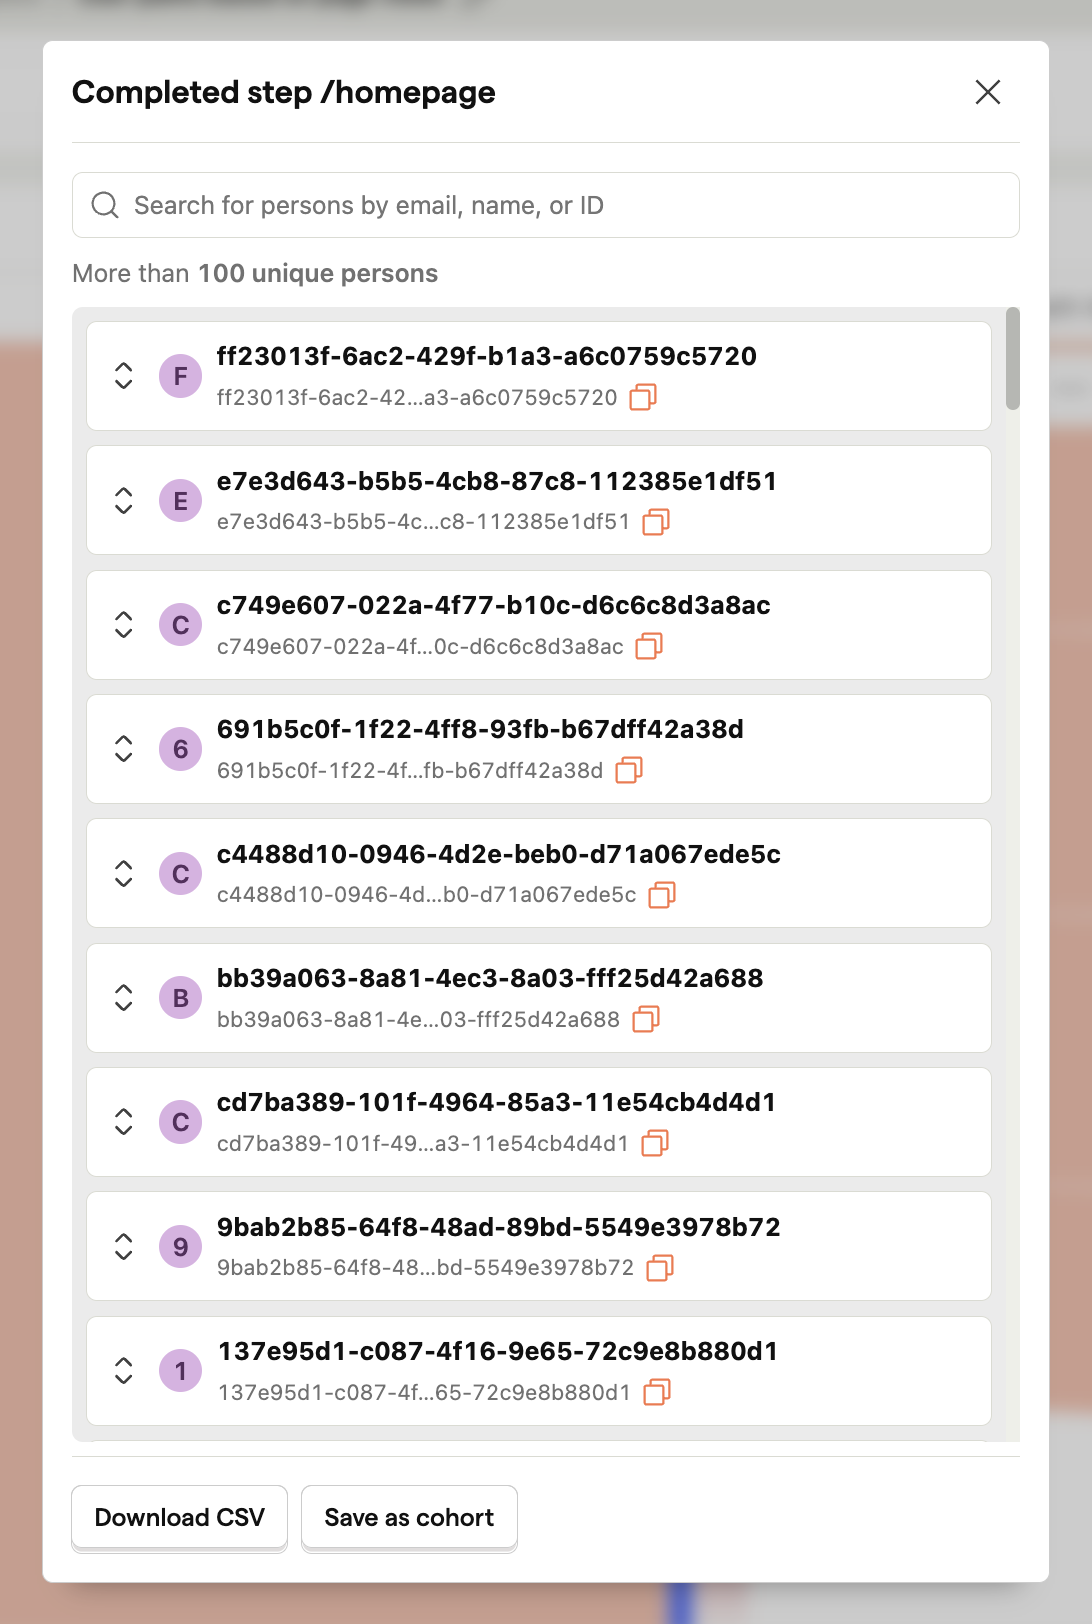
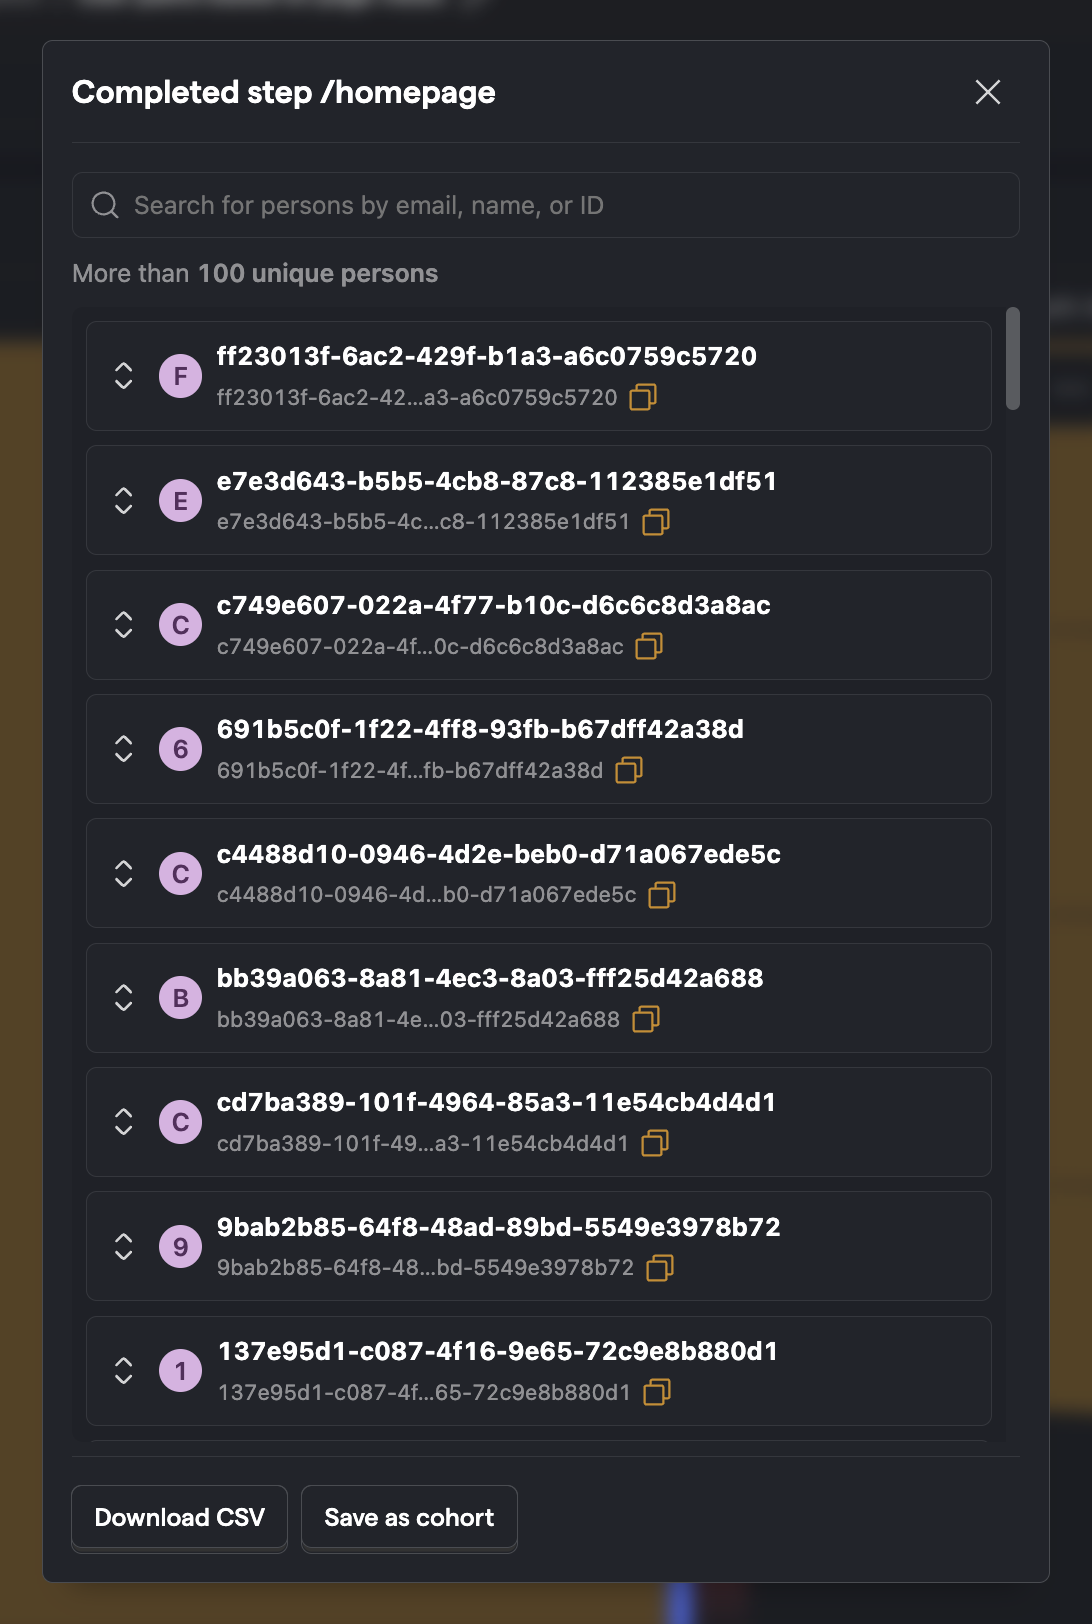
Next to each user, you can click on the Watch recording button to see a recording of the session where they passed through this step. In addition to this, if you hover over the name of a step to bring up the menu we saw in the last section, you'll see you can also click on the numbers showing how many users continued and how many users dropped off to see recordings from each outcome. The ability to view the recordings of all the users who dropped off at a certain step and compare them to those who made it through is incredibly useful when diagnosing problems with your funnels.
Beyond just viewing session recordings, you can also use the button in the bottom right to save this group of users as a cohort, and use them in other insights to figure out exactly why they dropped off.
Using paths
This next section provides detailed information on all the different components and options of the Paths insight.
Setting the number of paths
When you first create a Paths insight, you'll see an option right above the graph for the number of steps to display. This corresponds to the number of steps a user takes in a single session, with each step corresponding to an event that was sent.
Increasing the number of steps will show a longer portion of a user's journey through your product, but often this can get cluttered when viewing very long journeys. To fix this, checkout how to exclude certain events or modify some of the advanced options to decrease the visual load.
Selecting event types
Within Paths, there are 3 main types of events that PostHog can display user paths for. You can select any combination of the three, as long as you have at least one type of event selected.
Page views
This options shows paths for the $pageview event, which is sent by our web libraries when a user first views a page.
When viewing user paths for the $pageview event, each step of the path will be broken down by the Current URL property.
This also means that you'll be able to see a continuous path of your users even if they navigate across domains.
Screen views
This option shows steps for the $screen events, which is sent automatically by our app libraries when a user navigates to a new screen. Each step corresponds to a distinct value of the $screen_name property.
Custom events
This contains all events other than the $pageview and $screen event.
When displaying paths for these events, they will be broken down by name, with each step corresponding to an event a user performed in succession.
Filters
In order to determine patterns between groups of users who may behave similarly, you can filter paths according to your preferred criteria. PostHog has several built-in filters, including OS, Browser, Time, and IP address. Filters are accessed within the main 'User Paths' tab under Insights.
Filters can also be combined in order to define more complex groups, creating statements equivalent to "Show me users that run MacOS and visited my website using Firefox".
Wildcard groups
Where is this feature available?
Free / Open-source
Paid
Enterprise
Wildcard groups are an advanced feature that allows you to group multiple events together into a single step based on certain patterns.
Wildcard groups work by using the * character to match against an event. All events that contain a certain pattern will be grouped together, and you'll see their name in the paths displayed as the pattern you set.
Wildcard groups are typically used when you're dealing with URLs that contain unique values or IDs, and you want to combine all of these paths into a single step.
When using wildcards on 'Custom events', the pattern will be matched against the event name itself, so something like dashboard * will match the events dashboard created and dashboard viewed.
Example
As an example, let's say we're building an e-commerce website, and each order page has a path of the form /orders/12344124.
When viewing paths for our website, we notice that each separate order would be given their own path since every order has a different ID value, which isn't ideal since they're all the same page just with different URLs.
To compensate for this, we can use a wildcard group with the pattern /orders/*.
Here, the asterisk is a special character that will match any number of other characters. This means that the URL paths /orders/12348234 and /orders/12849483 will both be combined into a single event which will show up in the paths with the name /orders/*.
Changing the start and end point
It's often the case when looking at user paths that we want to know either the journeys of users coming from a certain page, or how users ended up on a certain page. This can be done by customizing the 'Starts at' and 'Ends at' options. When these options are unset, our paths can start at any point or event, and can also and at any point or event.
Start and end points can be set to a number of different options:
- Pageview URLs - Only available when Page views are set as an event type, and each option is a unique URL
- Screens - Only available when Screen views are set as an event type, and each option is a unique name corresponding to the
$screen_nameproperty - Custom events - Only available when Custom events are set as an event type. Options are all events other than
$pageviewand$screen - Wildcard groups - If you've created a Wildcard group, you can set that as either the start or end point as well
Exclusions
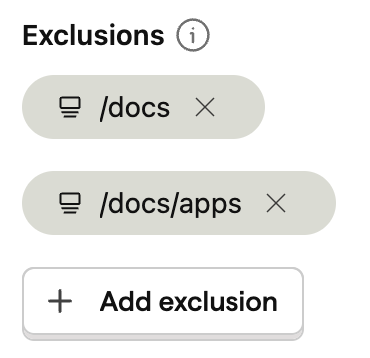
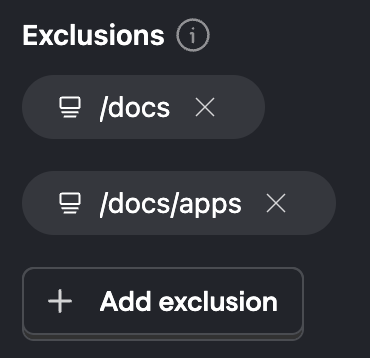
Exclusions allow you to remove events entirely from being displayed in a path, and can be added for Pageview URLs, Screens, Custom events, and Wildcards.
Advanced options
Where is this feature available?
Free / Open-source
Paid
Enterprise
Paths provide a number of more advanced configuration options for customizing the behavior of the insight.
Maximum number of paths
This is the maximum number of paths that will be displayed. Here, a 'Path' refers to a movement of a user from one step to another, and does not correspond to the number of paths from start to finish. The default number is 50, but oftentimes this will be far too cluttered and reducing the number will make it much easier to analyze.
Number of people on each path
This option allows you to set two numbers corresponding to the minimum and maximum number of users that can exist on a path. Once again, in this case 'Path' is referring to a movement from one step to another, not from start to finish. If the number of users who moved from one step to another is either lower than the minimum, or higher than the maximum, this still will not be displayed. If one of the options is set blank, this means there is no limit for that specific bound.
This option is very useful when analyzing paths that are visually dense, and allows you to filter off paths with very few users on them to get a better idea of what the majority of users are doing.
Path cleaning rules
Path cleaning rules are an advanced feature that can be used to standardize the form of URLs and event names within a Paths visualization. These rules consist of two parts:
- A Regex which is used to match the various URLs you would like to combine, and
- An Alias, which is used to replace the portion that matched the regex.
In this sense, these path cleaning rules are an advanced version of Wildcard groups, which use regex to match instead of the simple * wildcard.
Path cleaning rules can either be added directly to an insight, or you can configure global path cleaning rules by clicking the 'Configure Project Rules' button.
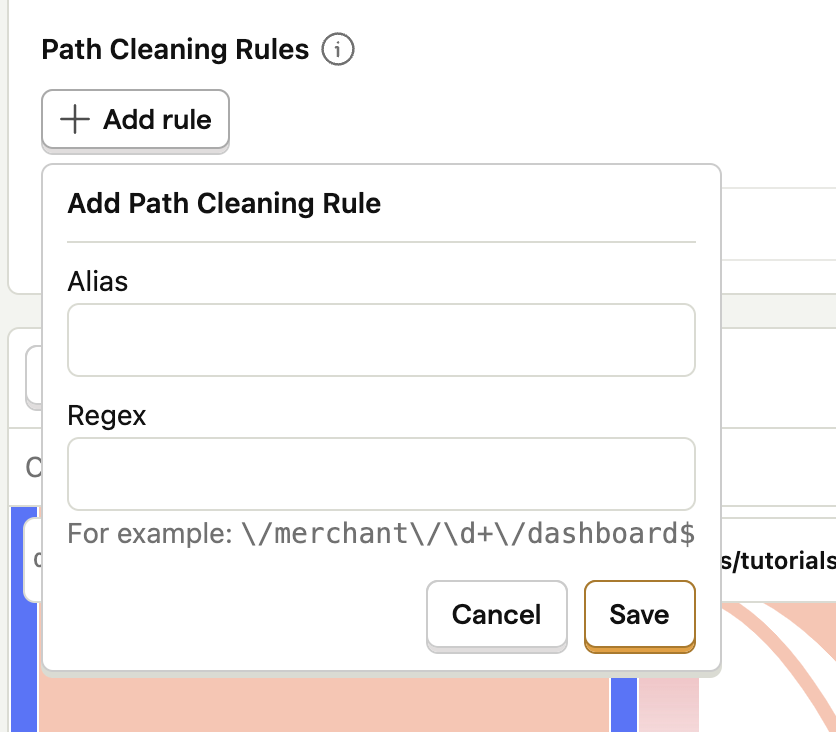
To give a better idea of how path cleaning rules work, let's take the example from the image above.
In this case, our app uses a URL structure of the form /merchant/<merchant_id>/dashboard where merchant_id is a number corresponding to the unique ID of a merchant.
Within our paths insight, we don't want to show different URLs for each merchant dashboard, so we'll combine them all into a single event, which we can do using the following regex: \/merchant\/\d+\/dashboard$.
Note: We don't need to add slashes to the beginning or end of our regex
Here, we're using the \d+ token to match the unique ID of any merchant. Finally, we'll set /merchant/dashboard as our alias.
Now, any Pageview events that have a pathname that matches our regex will have their path replaced with /merchant/dashboard.
For example, https://example.com/merchant/23423/dashboard would become https://example.com/merchant/dashboard.
Since all these events now have the same URL, they will all be combined within our insight and shown as a single step.